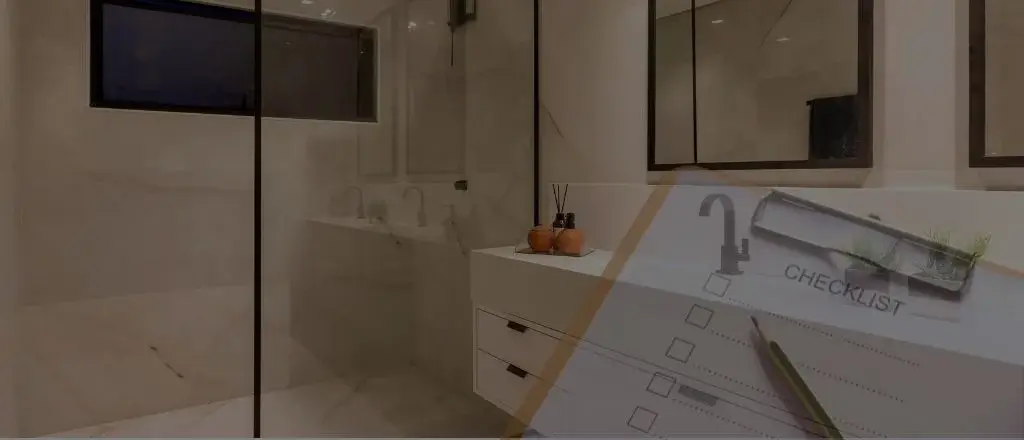
Bathroom Renovation Checklist – What to Plan Before You Start
Why every homeowner needs a bathroom renovation checklist
A bathroom renovation involves many decisions that affect cost, functionality, and compliance. A checklist gives you structure. It helps you plan rather than react to problems mid-project. Homeowners who use a checklist avoid rushed decisions, unexpected costs, and poor-quality outcomes.
Bathroom renovation checklist vs bathroom remodel checklist
A bathroom renovation checklist usually covers significant changes such as plumbing, electrical work, layout changes, and waterproofing. A bathroom remodel checklist focuses more on upgrading fixtures, tiles, or finishes without structural changes. Knowing the difference helps you set realistic expectations and budgets.
Common problems a checklist helps you avoid
A well-prepared checklist helps prevent budget blowouts, incorrect fixture sizes, poor layout choices, non-compliant waterproofing, and delays caused by unplanned trade work.
Bathroom Renovation Planning Checklist (Budget, Timeline & Scope)

Set a realistic bathroom renovation budget
Start by deciding what you can comfortably afford. Include materials, labour, approvals, and a contingency buffer. Many homeowners underestimate costs, so allowing an extra 10–15% protects you from surprises.
Decide between a complete renovation and a bathroom remodel
If you plan to move plumbing, change the layout, or upgrade electrical systems, you are looking at a complete renovation. If the layout stays the same and you only refresh surfaces and fixtures, a remodel may be enough.
Timeline checklist
Most renovations take two to four weeks. Your checklist should account for demolition, rough-ins, waterproofing curing time, tiling, and final installation. Rushing any step often leads to defects.
DIY vs professional checklist
DIY may seem cheaper, but mistakes can be costly. Licensed professionals ensure work meets Australian standards and provide certification. For most homeowners, professional renovation delivers better long-term value.
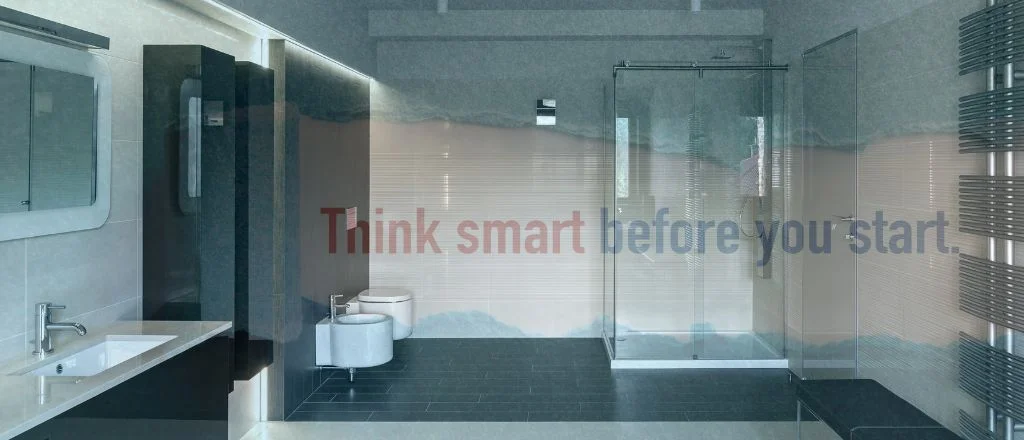
Bathroom Design & Layout Checklist (Function Comes First)
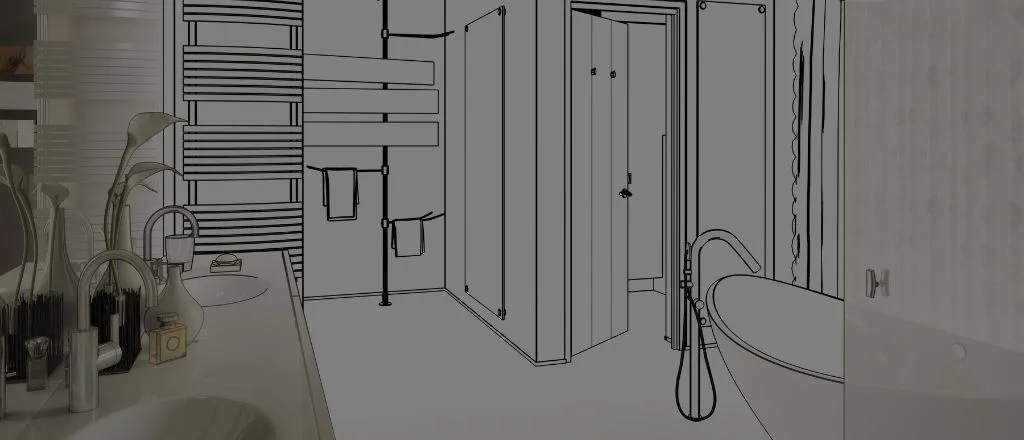
Bathroom measurement checklist
Accurate measurements are essential. Measure walls, ceiling height, door swings, windows, and existing plumbing locations. Incorrect measurements often cause delays or force design compromises.
Layout planning checklist for plumbing efficiency
Keeping plumbing close to existing locations reduces cost and risk. Efficient layouts also improve water pressure, drainage performance, and long-term reliability.
Small bathroom renovation checklist tips
In small bathrooms, innovative design makes a big difference. Walk-in showers, wall-hung vanities, and recessed storage help create space while improving functionality.
Storage, lighting, and ventilation planning
Good storage keeps the bathroom clutter-free. Layered lighting improves usability, while proper ventilation prevents mould and moisture damage.
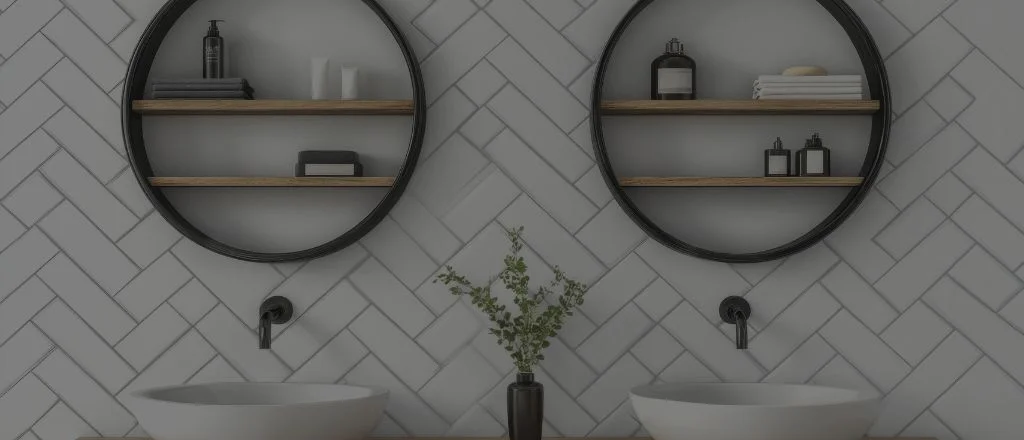
Bathroom Fixtures & Fittings Checklist
Toilet selection checklist
Choose a toilet that suits your space and plumbing configuration. Check rough-in measurements and water efficiency ratings before purchasing.
Vanity and basin checklist
Select a vanity that balances storage, size, and style. Ensure basin depth and tap positioning prevent water splashing.
Shower, bathtub, or combined layout checklist
Users will use the bathroom daily. Families often prefer bathtubs, while ensuite bathrooms usually benefit from spacious showers.
Tapware, mixers, and accessories checklist
Consistency matters. Matching finishes across tapware and accessories creates a clean, professional look and avoids visual clutter.
Water-saving fixtures and WELS ratings
Water-efficient fixtures reduce utility bills and meet Australian sustainability standards without sacrificing performance.
Materials Checklist
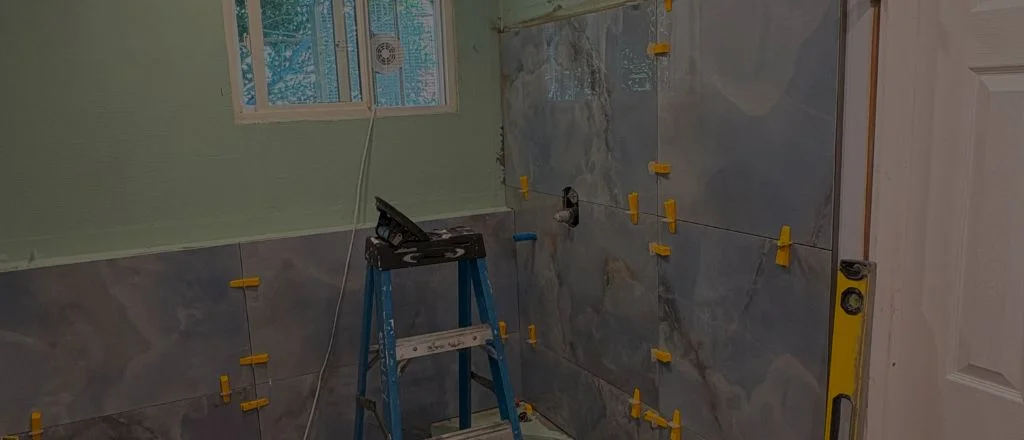
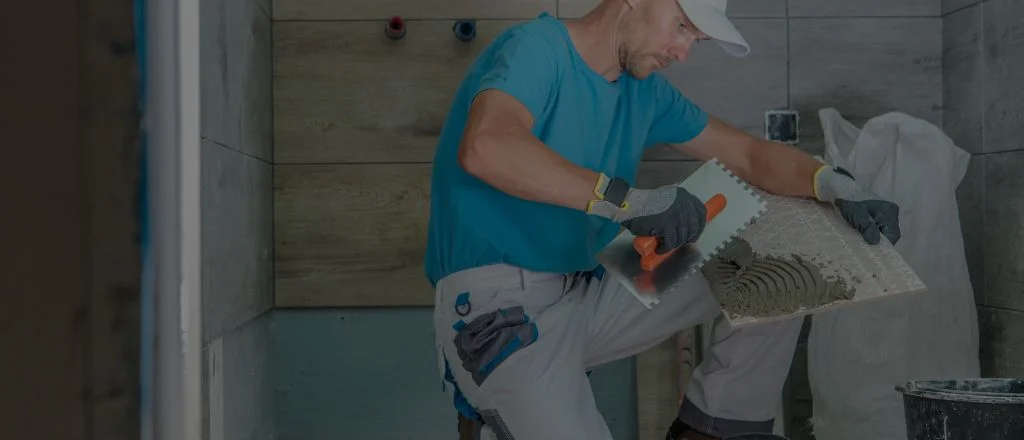
Floor and wall tile checklist
Choose tiles designed for wet areas. Slip resistance, durability, and ease of cleaning should guide your selection.
Waterproofing materials checklist
Waterproofing protects the structure of your home. Use compliant membranes and ensure correct application across all wet zones.
Shower screen types checklist
Frameless screens offer a modern look, while semi-frameless and framed options provide durability and cost efficiency. Choose based on budget and maintenance preferences.
Vanity benchtops and cabinetry materials
Moisture-resistant materials perform best in bathrooms. Poor-quality cabinetry often shows damage within a few years.
Grout, sealant, and finishing materials checklist
High-quality grout and sealants improve hygiene and reduce long-term maintenance.
Bathroom Plumbing & Electrical Checklist

Plumbing relocation and upgrade
Renovation is the ideal time to replace old pipes. Upgrading plumbing now avoids future leaks hidden behind walls.
Electrical points, power outlets, and lighting
Plan power points and lighting early. Electrical work must follow strict safety regulations.
Exhaust fan and ventilation
Proper ventilation protects paint, tiles, and cabinetry from moisture-related damage.
Heated floors and towel rails
Heated flooring and towel rails add comfort but require early planning during rough-in stages.
Australian plumbing and electrical compliance
Complete all work using licensed trades and certify the work upon completion.
Waterproofing & Compliance (Critical Step)
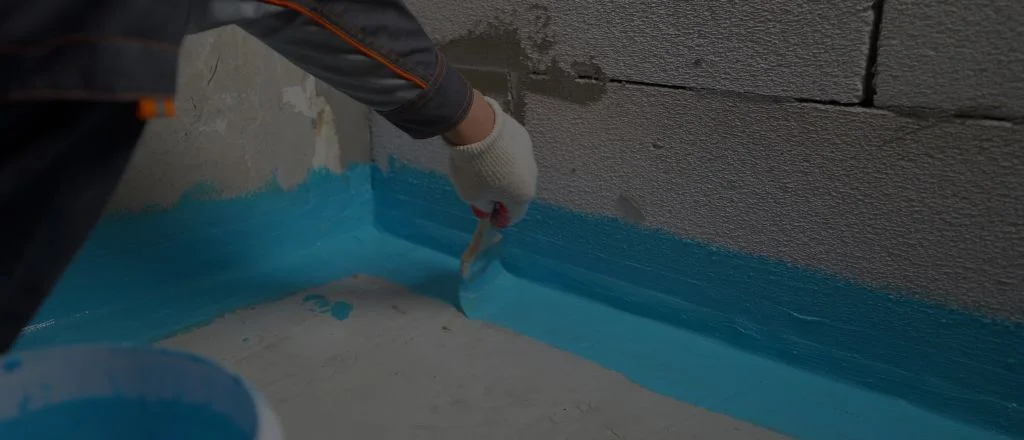
Waterproofing certificate checklist
Always request a waterproofing certificate. This document protects you if issues arise later.
NCC and Australian Standards requirements
Compliance ensures safety, durability, and legal protection.
Council approvals and strata approval checklist
Apartments and structural changes may require approval before work begins.
Waterproofing mistakes that cause failures
Common issues include poor drainage, falls, rushed curing times, and incomplete membrane coverage.
Installation Checklist
Demolition preparation
Prepare the site properly to protect surrounding areas and avoid damage.
Trade sequencing
A properly placed trade order ensures high-quality results and prevents rework.
Tiling and waterproofing inspection
Inspect waterproofing before tiling. This step prevents hidden defects.
Fixture installation order
Install fixtures only after tiling and painting are complete.
Silicone, sealing, and finishing
Final sealing improves water resistance and appearance.
Remodel Checklist – Final Inspection & Handover
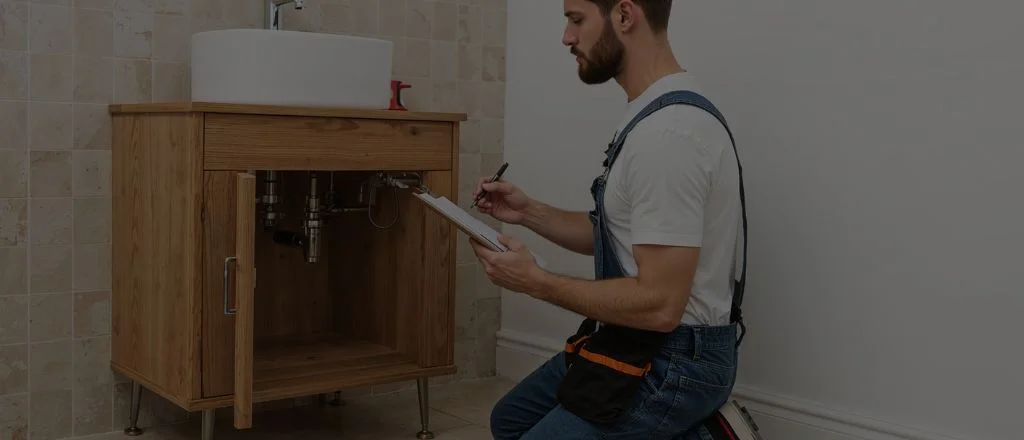
Visual quality inspection
Check alignment, finishes, and overall quality.
Plumbing and drainage testing
Test all water points thoroughly.
Electrical safety and compliance check
Confirm receipt of all electrical certificates.
Waterproofing and leak testing
Inspect wet areas for early signs of leakage.
Defects list and warranty handover
Document defects and collect warranties and manuals.
Mistakes to Avoid
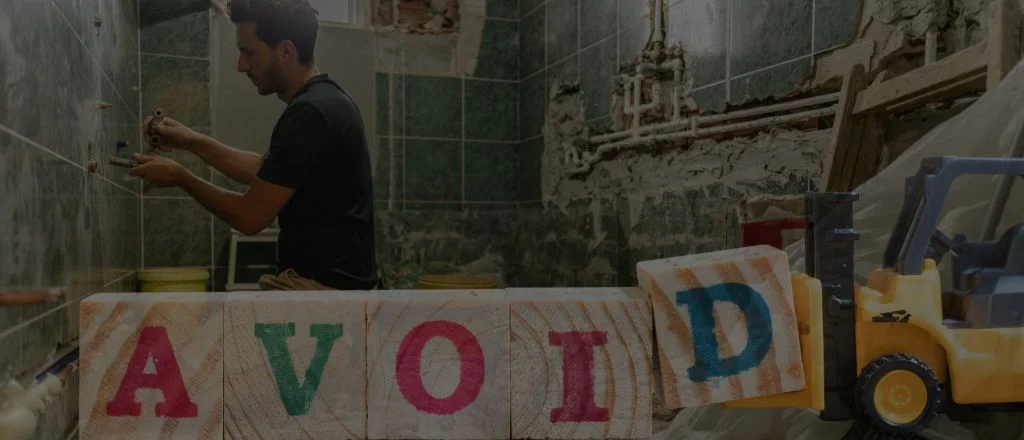
Skipping waterproofing or certification
This mistake often leads to significant structural damage.
Poor budget planning
Underestimating costs forces compromises later.
Choosing style over function
A bathroom must work well every day, not just look good.
Hiring unlicensed or uninsured tradespeople
Unlicensed work creates legal and financial risks.
Before You Start Your Renovation
Speak to a professional early if your renovation involves layout changes, waterproofing, or compliance requirements. A structured checklist keeps your renovation organised, compliant, and stress-free.